
sears kenmore sewing machine model 158 manual
Sears Kenmore Sewing Machine Model 158 Manual: A Comprehensive Guide
This comprehensive guide details the Sears Kenmore Model 158 sewing machine‚ offering instructional and user manuals in PDF format‚ readily downloadable from various sources.
Explore threading‚ bobbin winding‚ and tension adjustments across 25 pages‚ alongside tune-up guides and safety precautions for optimal performance and longevity.
Access manuals for multiple sub-models (158.13‚ 158.1318‚ 158.1703‚ 158.19800/1/2‚ 158.17560) and benefit from online resources‚ forums‚ and customer support.
The Kenmore Model 158 sewing machine represents a significant piece of sewing history‚ renowned for its durability and reliable performance. This machine‚ produced by Sears‚ quickly became a household staple‚ favored by both novice and experienced sewers.
Understanding its capabilities requires a dedicated resource – a comprehensive manual. Fortunately‚ numerous PDF versions of the Kenmore 158 manual are readily available online‚ offering detailed instructions for operation‚ maintenance‚ and troubleshooting. These manuals‚ often spanning 25 pages‚ cover everything from basic threading techniques to advanced features like darning and monogramming.
This guide serves as an introduction to accessing and utilizing these valuable resources‚ ensuring you can unlock the full potential of your Kenmore Model 158. Whether you’re seeking to repair a vintage machine or simply learn its intricacies‚ the available documentation provides the necessary support.
Historical Context of Kenmore Sewing Machines
Kenmore sewing machines‚ manufactured for Sears‚ Roebuck and Co.‚ hold a prominent place in American sewing history. Beginning in the early 20th century‚ Sears strategically branded reliable machines‚ often produced by established manufacturers like Singer and White‚ under the Kenmore name.
This approach allowed Sears to offer quality sewing solutions directly to consumers‚ bypassing traditional retail channels and establishing a strong reputation for value and dependability. The Model 158‚ a popular machine within the Kenmore line‚ exemplifies this commitment.
Accessing original Kenmore 158 manuals‚ now frequently available as PDF downloads‚ provides insight into this era of home sewing. These manuals reflect the design and functionality of machines built to last‚ offering a tangible connection to a time when craftsmanship and durability were paramount.
Model 158 Variations and Sub-Models
The Kenmore Model 158 wasn’t a single‚ monolithic machine; rather‚ it encompassed a range of variations and sub-models produced over several years. Identifying these nuances is crucial when seeking the correct manual or replacement parts. Common sub-model designations include 158.13‚ 158.1318‚ 158.1703‚ 158.19800‚ 158.19801‚ 158.19802‚ and 158.17560.
These variations often featured minor cosmetic differences or slight adjustments to internal components. Fortunately‚ many PDF manuals are available online‚ categorized by these specific sub-model numbers.
Locating the precise manual for your machine—based on its sub-model—ensures accurate instructions for threading‚ maintenance‚ and troubleshooting. Online resources and sewing forums are invaluable for deciphering these designations and finding the appropriate documentation.
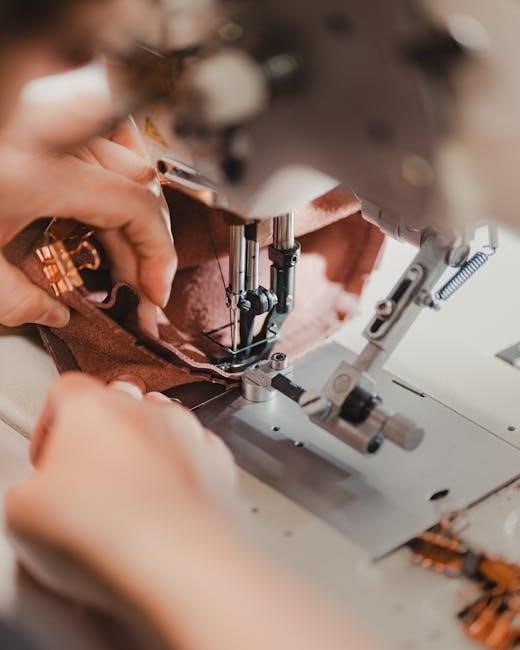
Understanding the Machine’s Components
Explore the key parts‚ bobbin system‚ needle mechanics‚ and tension control of the Kenmore 158‚ detailed in available instruction manuals.
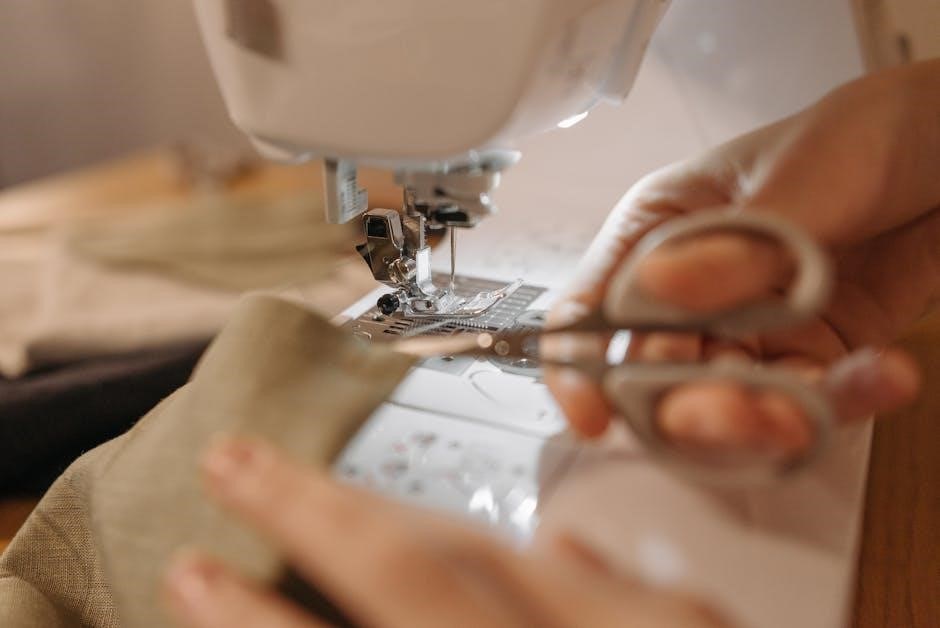
Identifying Key Parts: A Visual Guide
Familiarizing yourself with the Kenmore Model 158’s components is crucial for effective operation and maintenance. Detailed diagrams within the available instruction manuals (often in PDF format) visually showcase each part‚ aiding in identification.
Key components include the handwheel‚ spool pin‚ bobbin winder‚ tension discs‚ presser foot‚ needle clamp‚ and feed dogs. The manuals provide clear illustrations pinpointing the location of each element.
Understanding the bobbin case and its interaction with the shuttle hook is also vital. Refer to the diagrams to correctly install and remove the bobbin. Proper identification of these parts facilitates troubleshooting and ensures smooth sewing performance‚ as outlined in the user guides.
The Bobbin System Explained
The Kenmore Model 158 utilizes a bobbin system essential for forming the lower stitch. Instruction manuals‚ available as PDF downloads‚ provide detailed explanations and diagrams illustrating its function.
Correct bobbin winding is paramount; the manual guides you through this process‚ ensuring even distribution of thread. The bobbin case‚ housed within the machine‚ holds the bobbin and regulates thread flow. Proper insertion is critical for consistent stitching.
Understanding how the bobbin thread interlocks with the needle thread creates the stitch is key. Refer to the manual’s illustrations to visualize this process. Troubleshooting threading issues often involves checking the bobbin system for correct alignment and thread path.
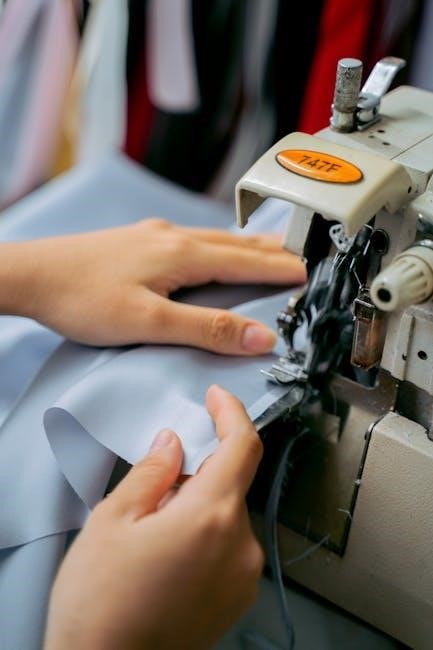
Needle and Presser Foot Mechanics
The Sears Kenmore Model 158’s sewing action relies on the synchronized movement of the needle and presser foot. Manuals‚ accessible in PDF format‚ detail these mechanics‚ emphasizing their importance for stitch formation.
The needle‚ driven by the machine’s motor‚ pierces the fabric‚ creating a loop. The presser foot maintains consistent pressure‚ feeding the fabric evenly. Adjusting the presser foot pressure is crucial for different fabric types‚ as outlined in the instruction manual.
Understanding the needle’s up-and-down motion and the presser foot’s role in fabric advancement is vital for smooth operation. Refer to the manual’s diagrams for visual guidance. Troubleshooting issues like skipped stitches often involves checking needle and presser foot settings.
Tension Control System Overview
The Kenmore Model 158’s tension control system is fundamental to achieving balanced‚ professional-looking stitches. Instruction manuals‚ available as PDF downloads‚ dedicate significant attention to this system‚ explaining its components and adjustments.
Proper tension ensures the top and bobbin threads interlock correctly within the fabric. Manuals illustrate how to adjust both upper and lower tension dials. Incorrect tension leads to looping‚ puckering‚ or thread breakage – common issues addressed in troubleshooting sections.
Understanding the interplay between thread type‚ fabric weight‚ and tension settings is key. Refer to the manual’s guidelines for recommended settings. Experimentation and careful observation are often needed to fine-tune tension for optimal results‚ as detailed in the user guide.

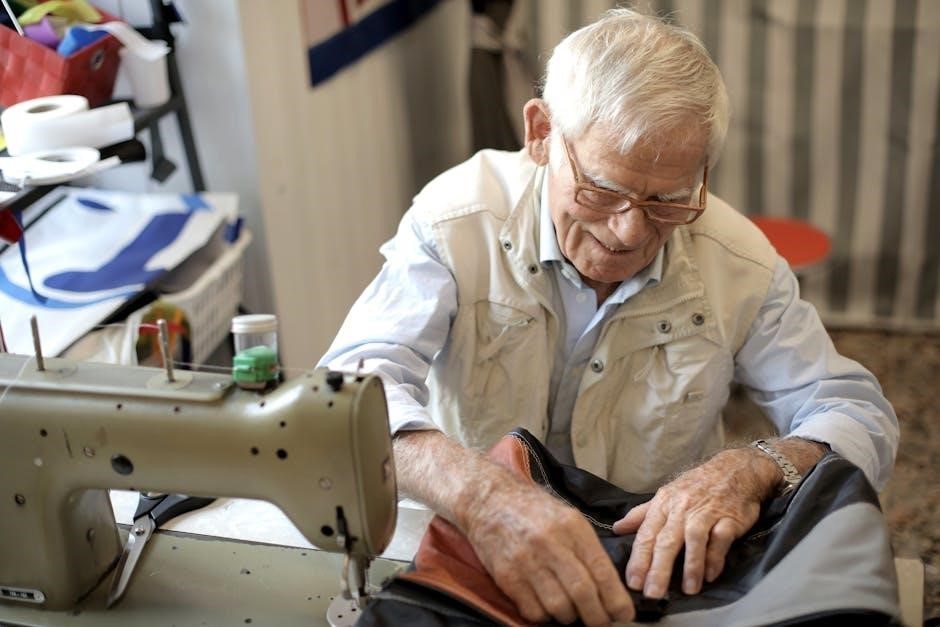
Operating Instructions
Detailed manuals guide users through powering on‚ threading‚ bobbin winding‚ stitch selection‚ and tension adjustments for the Kenmore Model 158.
Powering On and Basic Setup
Before initiating operation‚ ensure the power switch is in the ‘off’ position. Connect the sewing machine to a properly grounded electrical outlet‚ verifying voltage compatibility as detailed in the manual. Carefully inspect the power cord for any damage before use; a frayed cord presents a safety hazard.
Next‚ position the machine on a stable‚ level surface to prevent unwanted movement during sewing. Properly install the bobbin (refer to the bobbin system section for detailed instructions) and thread the upper thread path according to the diagrams provided in the manual. Confirm the presser foot is lowered before beginning to sew‚ as this engages the tension mechanism.
Finally‚ select your desired stitch type and length using the corresponding dials. Always perform a test stitch on a scrap fabric to verify settings before starting your project. Familiarize yourself with the machine’s controls and features for a smooth and efficient sewing experience.
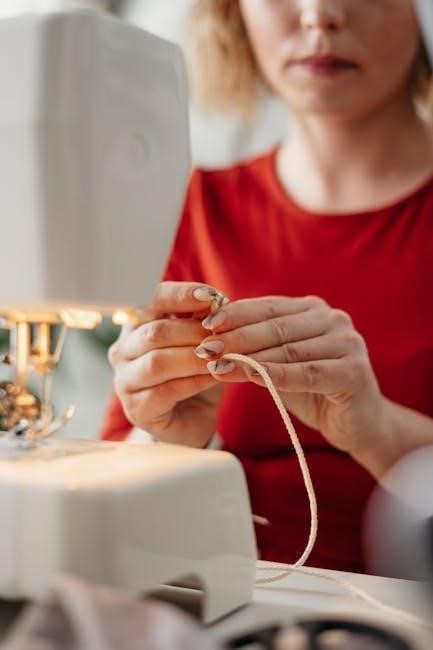
Threading the Machine: Step-by-Step
Begin by raising the presser foot; this opens the tension discs for proper thread flow. Place the spool of thread on the spool pin‚ securing it with a spool cap. Guide the thread through the first thread guide‚ then down and around the tension discs‚ ensuring it seats correctly between them.
Next‚ continue threading upwards through the take-up lever‚ then down through the second thread guide. Pass the thread through the needle clamp and finally‚ thread the needle from front to back. Ensure the thread is fully inserted into the needle’s eye.
Draw out a sufficient length of thread (approximately 6 inches) and gently pull to confirm it’s properly engaged throughout the threading path. Refer to the diagrams in the manual for visual guidance‚ as threading paths can vary slightly between sub-models.
Winding the Bobbin Correctly
Start by placing the bobbin on the bobbin winder spindle‚ ensuring it clicks into place. Attach the thread end to the bobbin by wrapping it around the core several times‚ securing it with a finger. Engage the bobbin winder by sliding the bobbin winder mechanism to the right.
Press the foot pedal gently to begin winding. Monitor the bobbin as it fills‚ allowing it to wind evenly without overlapping. Stop the machine when the bobbin is nearly full‚ preventing thread overflow.
Disengage the bobbin winder and carefully remove the filled bobbin. Trim the thread end and insert the bobbin into the bobbin case‚ following the manual’s specific instructions for your Kenmore 158 sub-model. Proper winding ensures smooth and consistent stitching.
Selecting Stitch Types and Length
The Kenmore Model 158 offers a variety of stitch options‚ typically including straight stitch‚ zigzag stitch‚ and potentially buttonhole and decorative stitches‚ depending on the sub-model. Locate the stitch selection dial or buttons on the machine. Refer to the manual’s stitch guide for visual representations of each stitch type.
Adjust the stitch length using the designated dial or slider. Shorter stitch lengths are ideal for delicate fabrics and intricate details‚ while longer stitch lengths are suitable for heavier materials and faster sewing. Test the selected stitch and length on a scrap fabric before starting your project.
Experiment with different settings to achieve the desired look and functionality for your sewing needs. Consult the manual for recommended settings based on fabric type and stitch application.
Adjusting Stitch Width and Tension
Stitch width‚ primarily relevant for zigzag and decorative stitches‚ is controlled by a separate dial or slider. Wider stitch widths create broader patterns‚ while narrower widths offer more concentrated coverage. Experiment to find the optimal width for your desired effect.
Tension is crucial for balanced stitches. Incorrect tension results in looping or puckering. Adjust the tension dial – typically numbered – to fine-tune the balance between the upper and lower threads. Start with the default setting (usually ‘4’ or ‘5’) and adjust incrementally.
Test on scrap fabric after each adjustment. If the upper thread pulls the fabric‚ decrease the upper tension. If the bobbin thread pulls‚ increase the upper tension. Refer to the manual for detailed troubleshooting guidance.
Maintenance and Troubleshooting
Regular cleaning‚ lubrication‚ and troubleshooting are vital for the Kenmore 158’s longevity‚ addressing issues like threading‚ tension‚ and needle problems.
Regular Cleaning Procedures
Maintaining a clean Kenmore Model 158 sewing machine is crucial for smooth operation and preventing malfunctions. Begin by disconnecting the power supply before any cleaning. Remove the needle‚ presser foot‚ and bobbin case. Use a soft brush or lint remover to gently clear away lint and dust from the bobbin area‚ feed dogs‚ and surrounding components.
Pay close attention to areas where fabric fibers accumulate. A small vacuum cleaner with a brush attachment can be helpful for reaching tight spaces. Wipe down the exterior surfaces with a slightly damp cloth; avoid harsh chemicals or abrasive cleaners. Periodically‚ a small amount of sewing machine oil can be applied to key moving parts‚ as detailed in the lubrication guide‚ but only after thorough cleaning. Consistent cleaning extends the machine’s life and ensures optimal performance.
Lubrication Guide for Optimal Performance
Proper lubrication is vital for the Kenmore Model 158’s longevity and smooth operation. Always clean the machine thoroughly before applying oil‚ removing lint and dust as described in the cleaning procedures. Use only sewing machine oil specifically designed for this purpose; other lubricants can cause damage.
Apply a small drop of oil to the bobbin race‚ the shuttle hook‚ and the motor shaft (if accessible). Carefully oil the areas where metal parts move against each other‚ such as the presser bar and the needle bar. Avoid over-oiling‚ as excess oil attracts dust and can create a sticky residue. Run the machine briefly after oiling to distribute the lubricant evenly. Regular‚ careful lubrication ensures quiet‚ efficient sewing.
Troubleshooting Common Issues: Threading Problems
Threading issues are frequent with the Kenmore Model 158‚ often stemming from incorrect threading paths. Ensure the presser foot is raised during threading‚ allowing proper tension release. Verify the thread is correctly seated in the tension discs and guided through all thread guides without snags. Check the spool for proper winding and that the thread isn’t damaged or old.
If the upper thread breaks‚ re-thread the entire machine‚ confirming each step. For lower thread problems‚ ensure the bobbin is wound evenly and inserted correctly. Inspect the needle for burrs or damage‚ replacing it if necessary. Consult the manual’s threading diagrams for visual guidance‚ and always use the recommended thread type.
Troubleshooting Common Issues: Tension Problems
Tension issues on the Kenmore Model 158 often manifest as looping stitches or puckering fabric. Begin by re-threading both the upper and lower threads‚ ensuring proper seating in the tension discs. Adjust the upper tension dial incrementally‚ testing on scrap fabric after each adjustment. Remember‚ higher numbers increase tension‚ while lower numbers decrease it.
If looping occurs on the underside‚ tighten the upper tension. Conversely‚ if looping appears on the top‚ loosen it. Verify the bobbin is correctly inserted and wound evenly. Check the needle type and size are appropriate for the fabric. Refer to the manual for recommended tension settings based on fabric weight and stitch type.
Addressing Needle Breakage and Jamming
Needle breakage and jamming on the Kenmore Model 158 are frequently caused by incorrect needle insertion‚ bent needles‚ or attempting to sew through excessively thick material. Always ensure the needle is fully inserted with the flat side facing the back. Replace bent or damaged needles immediately. Avoid forcing the fabric; let the machine feed it naturally.
If jamming occurs‚ stop the machine and carefully remove the fabric and bobbin. Inspect the needle area for tangled threads or fabric pieces. Check the bobbin case for lint or debris. Ensure proper lubrication‚ as friction can contribute to jamming. Consult the manual for the correct needle type for your fabric to prevent future issues.
Advanced Features and Techniques
Unlock the Kenmore 158’s potential with attachments‚ free motion sewing‚ darning‚ and monogramming – expanding your creative sewing possibilities significantly.
Using Attachments and Accessories
The Kenmore Model 158 truly expands its capabilities when utilized with a variety of available attachments and accessories. While specific accessory availability depends on the sub-model (like 158.13 or 158.1703)‚ common additions significantly enhance functionality.
Consider utilizing specialized presser feet for tasks like zipper insertion‚ buttonholes‚ or blind hemming‚ streamlining these processes. Explore quilting kits for precise stitch control and even fabric feed. Attachment options also include gathering feet‚ rolled hem feet‚ and edge stitching feet‚ opening doors to diverse project types.
Refer to your specific Model 158 manual (available as a PDF download) for a comprehensive list of compatible accessories and detailed instructions on their proper installation and use. Proper attachment usage ensures optimal sewing performance and prevents potential machine damage.
Free Motion Sewing with the Model 158
The Kenmore Model 158‚ while a mechanical machine‚ is capable of free motion sewing‚ unlocking creative quilting and decorative stitching possibilities. Achieving this requires disengaging the feed dogs – a crucial step detailed in your Model 158 manual (available as a PDF). This allows you to move the fabric freely under the needle‚ controlling stitch placement entirely by hand.
Utilize a darning foot (also known as a free motion foot) for optimal control and visibility. Lower the presser foot and gently guide the fabric‚ creating intricate designs‚ quilting patterns‚ or personalized embellishments. Experiment with different thread weights and colors to achieve unique effects.
Remember to adjust stitch length to zero and tension appropriately for the fabric being used. Consult online Kenmore sewing communities for tips and techniques specific to the Model 158.
Darning and Monogramming Capabilities
The Sears Kenmore Model 158 excels in traditional sewing techniques like darning and monogramming‚ offering solutions for garment repair and personalization. Utilize the darning function‚ often achieved with a specialized darning foot‚ to mend holes in socks‚ sweaters‚ and other fabrics‚ restoring them to usable condition.
For monogramming‚ the machine’s ability to create precise stitches is invaluable. Employ an embroidery foot and carefully follow the guidelines provided in your Model 158 manual (available in PDF format). Consider using water-soluble stabilizer to support delicate fabrics during the process;
Explore online Kenmore sewing forums for monogramming alphabet templates and design ideas. Practice on scrap fabric before applying your designs to finished garments.
Resources and Support
Access official PDF manuals‚ replacement parts online‚ and Kenmore sewing forums for community support. Contact Kenmore customer service for assistance.
Downloading the Official Kenmore 158 Manual (PDF)
Securing the official Kenmore Model 158 sewing machine manual in PDF format is crucial for optimal machine operation and maintenance. Several trusted online sources offer convenient downloads‚ ensuring you have immediate access to vital information. Begin your search on official Sears websites or explore reputable sewing machine forums dedicated to vintage models like the 158.
Prior to downloading‚ verify the file’s compatibility with your device to avoid any access issues. A file size of approximately 150 KB is typical‚ and checking the MD5 checksum (2E2A350F7D23DA6D282130CFB724B1FE) can confirm file integrity. This manual‚ published on October 17‚ 2023‚ contains 25 pages of detailed instructions‚ covering everything from threading and bobbin winding to tension adjustments and troubleshooting. Download and save the manual for future reference‚ allowing you to easily print it or view it on any device.
Finding Replacement Parts Online
Maintaining your Sears Kenmore Model 158 sewing machine often requires sourcing replacement parts. Fortunately‚ numerous online retailers specialize in vintage sewing machine components‚ offering a wide selection to keep your machine running smoothly. Explore dedicated sewing machine parts websites‚ as well as larger online marketplaces like eBay and Etsy‚ where individual sellers frequently list Kenmore 158 parts.
When searching‚ be as specific as possible with part numbers or descriptions to ensure compatibility. Common replacements include needles‚ bobbins‚ presser feet‚ belts‚ and occasionally‚ more complex components like motors or gears. Compare prices and shipping costs from different vendors before making a purchase. Remember to verify the seller’s reputation and return policy for a secure transaction‚ ensuring your Kenmore 158 continues to perform reliably for years to come.
Kenmore Sewing Machine Forums and Communities
Engaging with online Kenmore sewing machine forums and communities provides invaluable support and knowledge for Model 158 owners. These platforms connect enthusiasts who share experiences‚ troubleshooting tips‚ and resources related to vintage Kenmore machines. Discover dedicated threads specifically addressing the Model 158‚ where you can find answers to common questions and learn from others’ repairs.
Participate in discussions‚ ask for advice on specific issues‚ and contribute your own expertise to help fellow users. Many forums also feature classifieds sections where members buy‚ sell‚ and trade parts and accessories. These communities are a fantastic resource for locating hard-to-find components and gaining insights into maintaining your Kenmore 158‚ fostering a collaborative environment for sewing machine enthusiasts.
Contacting Kenmore Customer Support
While the Sears Kenmore Model 158 is a vintage machine‚ accessing customer support can still be possible‚ though potentially indirect. Direct support specifically for this model may be limited due to its age‚ however‚ exploring current Kenmore customer service channels is worthwhile. Check the official Sears website for contact information‚ including phone numbers and email addresses‚ and inquire about assistance with older Kenmore products.
Be prepared to provide the model number (158) and any relevant serial number information. Alternatively‚ explore third-party repair services specializing in vintage sewing machines; they often possess expertise in maintaining and repairing older Kenmore models. Remember to document all communication and keep records of any repairs undertaken‚ ensuring a smooth process when seeking assistance.
Safety Precautions
Always prioritize safety when operating the Kenmore Model 158‚ adhering to general guidelines and electrical safety measures to avoid injury during use.
General Safety Guidelines
Before operating your Sears Kenmore Model 158 sewing machine‚ carefully read the entire manual to understand its functions and safety features. Always disconnect the power cord from the electrical outlet when threading‚ changing the needle‚ cleaning‚ or performing any maintenance. Never operate the machine with a damaged cord or plug‚ and avoid using extension cords if possible.
Keep fingers away from moving parts‚ such as the needle‚ presser foot‚ and bobbin area‚ while the machine is running. Do not attempt to sew over thick fabrics or multiple layers that could strain the motor or cause the needle to break. Ensure the machine is placed on a stable‚ level surface during operation. Supervise children and inexperienced users closely when they are near the sewing machine.
Never leave the machine unattended while it is plugged in. Regularly inspect the machine for any signs of wear or damage‚ and address any issues promptly. Use only genuine Kenmore accessories and parts to ensure compatibility and safety. Remember‚ responsible operation is key to a safe and enjoyable sewing experience.
Electrical Safety Information
To prevent electrical shock‚ always ensure the sewing machine is properly grounded. Never operate the Kenmore Model 158 with a damaged power cord or plug; replace them immediately. Avoid using the machine in damp or wet locations‚ as water can conduct electricity. Do not attempt to repair the electrical components yourself – seek qualified service personnel for any repairs.
Always disconnect the power cord from the outlet before cleaning‚ changing the needle‚ or performing maintenance. Ensure the voltage indicated on the machine’s nameplate matches your household voltage. Never pull the cord to disconnect the plug; grasp the plug itself. Keep the power cord away from heat‚ oil‚ and sharp edges.
Inspect the plug and cord regularly for damage. If the machine malfunctions or exhibits unusual electrical behavior‚ immediately disconnect it and consult a qualified technician. Prioritize electrical safety to protect yourself and prevent damage to the sewing machine.
Avoiding Injury During Operation
Always keep fingers and other body parts away from moving parts‚ like the needle‚ presser foot‚ and flywheel‚ while the Kenmore Model 158 is running. Never sew over pins or thick layers of fabric‚ as this can cause the needle to break or damage the machine. Use the correct needle type and size for the fabric being sewn to prevent breakage and ensure smooth operation.
Do not force the fabric under the needle; let the machine feed the fabric naturally. Always turn off the machine and disconnect the power cord before changing the needle or performing any maintenance. Be cautious when using attachments or accessories‚ ensuring they are securely attached before operation. Never reach under the presser foot while the machine is running.
Maintain a clear workspace‚ free from clutter‚ to prevent accidental contact with the machine. Exercise caution and focus while operating the sewing machine to avoid injuries.
Leave a Reply
You must be logged in to post a comment.